-
Click the exe file that was downloaded from the bintec-elmeg homepage.
The be.IP Secure Client - InstallShield Wizard window opens.

Language selection in InstallShield wizard
-
Select the installation language, e.g. German and then click OK.
The file is unpacked, you are greeted.
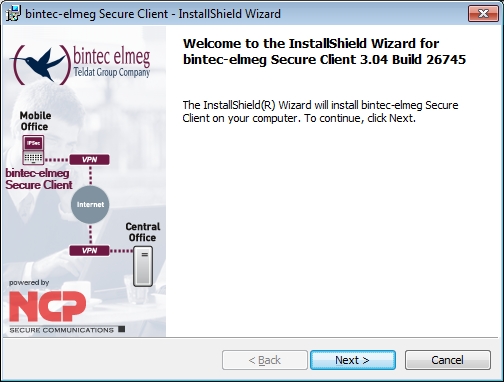
Welcome page in InstallShield wizard
-
Click Next.

Licence agreement in InstallShield wizard
-
Read the licence conditions. Enable I accept the terms of the licensing agreement then click Next.

Setup in the InstallShield wizard
-
Keep the setting Secure Client then click Next.

Allow the icon to be displayed in InstallShield wizard
-
If you want an icon to be displayed on your PC desktop for be.IP Secure Client, enable the Display program icons on desktop then click Next.
Preparations for installation are complete.
-
Click Install.
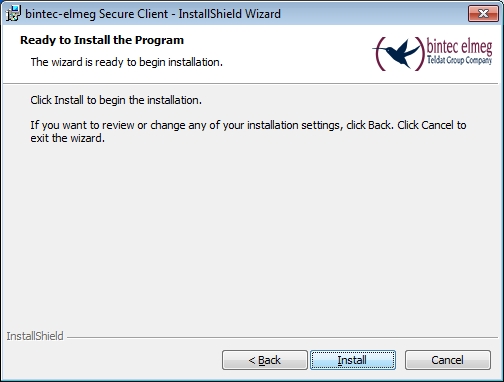
End of preparations in the InstallShield wizards
The be.IP Secure Client is installed.
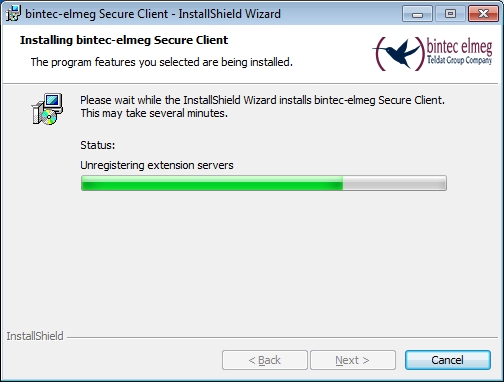
Install be.IP Secure Client in InstallShield wizard
be.IP Secure Client is installed
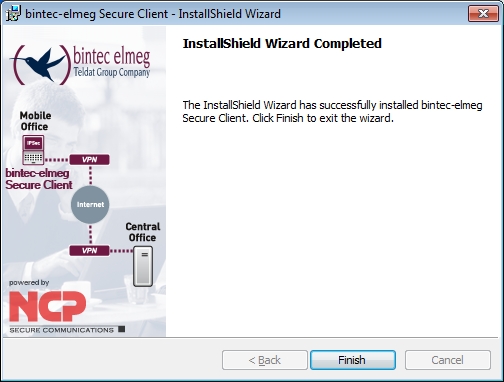
Installation is complete.
-
Click on Complete.

Installation information for the be.IP Secure Client
-
Click Yes to restart your PC.